Plastic, it’s all around us. However, it isn’t always the right color. If you’ve ever tried painting on a plastic object, then you know plastic primer is a necessity, but what about sanding?
Sanding is needed after applying a plastic primer. Sanding the plastic primer will help the paint adhere to the object better. After coating an item with primer, use 400-600 grit sandpaper. Lightly sand the plastic item before applying the plastic primer. Rinse and dry the piece before painting.
Painting on plastic can be difficult, and sanding may seem like an unnecessary step. However, for your piece to turn out correctly, you’ll need to follow certain steps. Learn more about why sanding is necessary as well as how to use plastic primer below.
Sanding Down Plastic Primer: Is it Necessary?
First of all, let’s discuss what plastic primer is and why you need to use it.
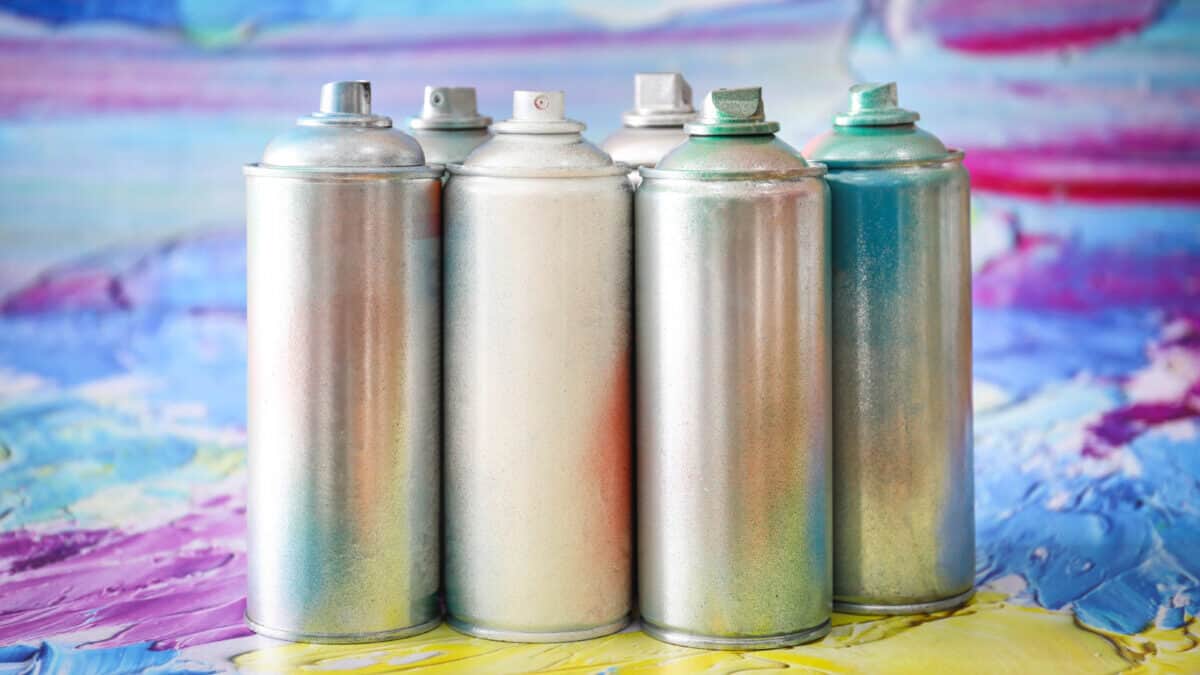
Plastic primer, or plastic adhesion promotor, is a product that makes it easier to paint on plastic products. Most plastic products are too smooth for paint to adhere to, especially glossy plastics.
While you could paint on the plastic object without primer, it will flake off.
So no, plastic primer is not a necessity; however, it will significantly improve how your final project looks.
- Plastic primer creates an adhesive surface for the paint to stick to.
However, the primer alone will be bumpy and rough. These qualities don’t make for a good canvas. If you want your final painted project to look professional, you’ll need to sand it smooth.
Not sure how to use a plastic primer? Follow the steps outlined below to get the best results.
Step One: Clean and Sand
Start by cleaning the object you want to paint. Use a bristled brush with soapy water. Let the item dry entirely before moving on to the next step. If you don’t want to wait for the object to dry, use a lint-less cloth to pat it dry.
Once the plastic item is dry, you need to prepare the surface for primer. Grab some sandpaper (180 to 220 grit) and lightly sand the area you want to paint over. Only sand until the plastic no longer has a shine to it. This shouldn’t take much pressure to do.
After sanding, grab a damp cloth and wipe off any plastic dust.
Step Two: Prime the Plastic
When using primer, always use gloves and a mask. You should also consider doing this outside to prevent staining any furniture.
Before you start priming, decide if any areas need to be taped off.
If you only want to paint a portion of the plastic item, cover it, and tape the rest of the piece. Additionally, if you are painting a plastic electronic device (such as AirPods), cover and tape any areas that primer could get into the electronics system.
Now you’re ready to prime!
Try to keep the primer can as level as possible to ensure a consistent stream. Evenly coat the plastic piece with the primer. Avoid getting too much primer in one place as this causes drips.
These drips will show through the coat of paint. Additionally, the piece will take longer to dry. That said, you’ll need to apply a few coats of primer.
Watch the following YouTube video to see how to apply plastic primer.
Let the primer dry for several hours. While the actual time frame will vary depending on the coat thickness and primer products, expect to wait at least four hours before moving on to the next step.
Lightly touch the piece to see if the primer is dry. Don’t worry about leaving fingerprints, you can remove them in the next step.
Step Three: Clean and Sand (again)
Now that your plastic piece is primed and dry, you’ll need to sand it one last time. But why?
- Although primer presents an adhesive surface for the paint to go on, it isn’t always smooth. Sanding the primer creates a flat, adhesive surface for you to paint on.
Use a finer sheet of sandpaper, such as 400 to 600 grit. Lightly sand the piece until it has a smooth exterior. Last but not least, use a damp cloth to remove any dust from the plastic object.
This dust could cause the paint to clump or peel off. You could also use an air gun to blow off any dust bits.
And that’s it. In as little as three steps, you’re ready to start painting! After your painting dries, finish it off with a sealer such as mod podge or any polyurethane spray.
Does Plastic Primer Need Hardener?
Every plastic primer product is different from each other.
For this reason, you’ll need to verify whether the plastic primer you purchased has a hardener in it or not. You can find this information on the back of the can or in the product description on the company website.
In general, plastic primers have hardeners mixed in their formula. In other words, needing to add a hardener to your plastic primer is the exception, not the rule.
For example, Valspar recommends adding hardener and thinner to the the1-60 1K Plastic Primer from DeBeer Refinish TDS.
Not sure if your product has a hardener in it? Look for the words “amine resin” on the can, as this is often used as a hardening agent.
How Much Does Plastic Primer Need to Dry Before Painting?
In most cases, it is best to let the primer dry entirely before moving on to painting. Since you’ll also be spraying multiple coats of plastic primer, you’ll need to let the primer dry before adding another layer.
Wait at least five minutes in between each coat of plastic primer. After you finish the last coat of primer, wait four hours before checking the prime. If the primer is still wet (even just slightly), let it sit for another hour. However, if it’s dry, you’re ready to start painting!
While most plastic primers suggest waiting the full four hours, some products, such as Montana Cans Plastic Primer, only need three hours of drying time before painting can begin.