WD-40 cans have so many uses all from the DIY novice to an experienced mechanic. However what happens when you press the nozzle but no WD-40 comes out and how do you insert the WD-40 straw?
If the straw is detachable you can insert it into the nozzle. If the straw is attached via the smart straw nozzle common in WD-40 since 2005 then you don’t need to remove it. Flip the smart straw up or down for different functions.
I’ll go through exactly what the smart straw is and how to use it, we’ll also look at the old style straws and go through some tips on how to fix blocked nozzles. We’ll also cover methods to insert the straw into the older style WD-40 cans.

How Do You Put A Straw In A WD-40 Can?
WD-40 cans have two different mechanisms for the straw. WD-40 cans sport a different look from the iconic can and red straw combination.
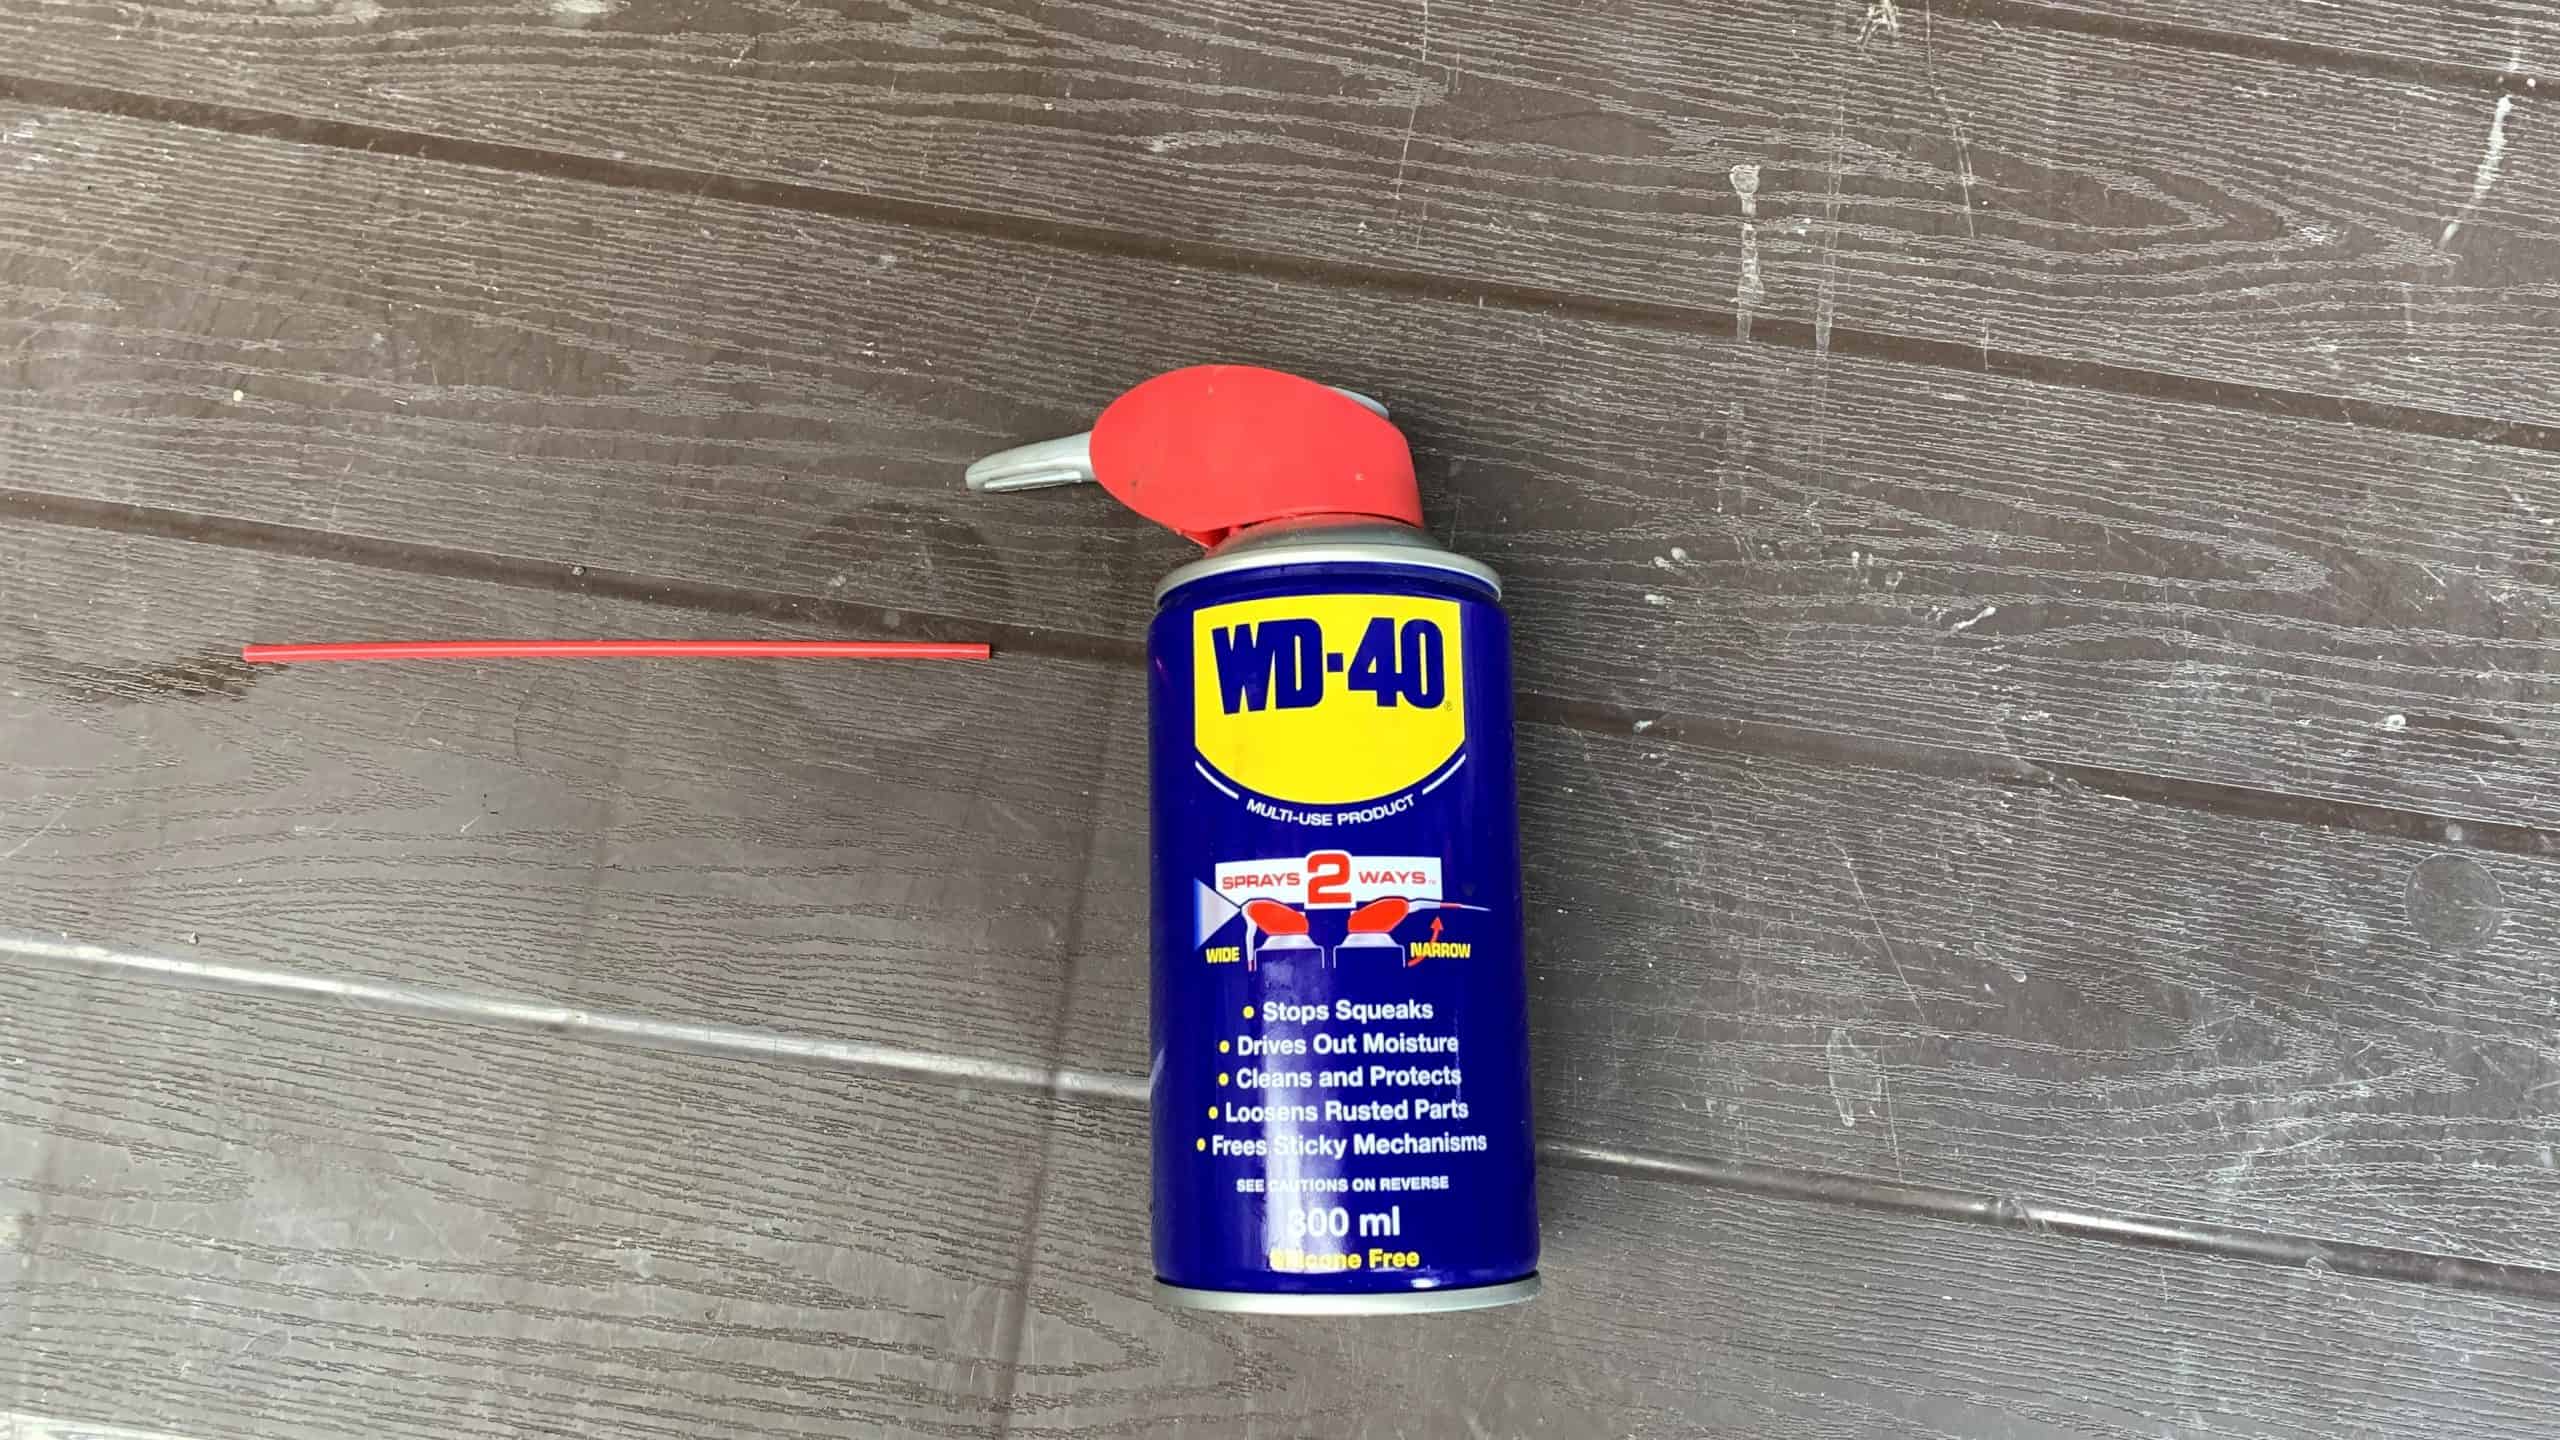
The modern type is referred to as a smart straw. By adjusting between the up and down positions gives either a stream or a spray.
The previous style was that there was a removable iconic red straw that would be inserted into the push button of the spray.
There is no need to put a straw into the modern type. To get a precision stream, just swing the Smart Straw upwards and spray per usual. The mechanism does not need to be forced and will make a ratchet-style sound from the plastic hinge components.
With the older type of WD-40, the red straw caused some issues. First, it was easy to lose. The other issue is that as the straw is getting introduced into the nozzle, it can cause the mechanism to go off accidentally and cover you with WD-40.
If you’re having a hard time inserting the straw, try to remove the component and attempt again. Remove the push button which has the spray can nozzle on it from the top of the WD-40 and insert the straw. If you pry it off by pulling the button straight up it should pop off easily.
Here’s a useful video from YouTube that shows this in action!
How Do You Use WD-40 Smart Straw?
The “Smart Straw” has an articulating hinge inside which allows the nozzle to be flipped up for the concentrated stream and flipped down for the iconic spray can jet from the nozzle.
The Smart Straw is permanently attached to the WD-40 can, unlike the previous detachable version.
What Is The Straw For In WD-40?
The WD-40 straw allows precision spraying. This can effectively deliver WD-40 to where it needs to be without covering other surfaces unnecessarily.
Often WD-40 needs to be applied to specific areas for there to be any effect. Certain mechanisms like hinges or pistons may need to be lubricated or have WD-40 to allow movement of a stuck component.
The issue is that these key components may be behind immovable parts or in confined spaces. The straw allows precise application of WD-40 to the problem area without having to be right next to it, like in a vehicle’s engine bay.
How Do I Get A Replacement Straw?
Replacement straws are sold on retailers like Amazon. You can pick up a pack of 22 straws to replace any standard aerosol, including a 50-inch straw to get to those hard-to-reach places.
WD-40 reports that the number one complaint they receive is loss of the straw. This was the reason behind the innovation of the straw into the smart straw.
The smart straw cannot be lost like the separate red straw as it now forms part of the WD-40.
- If you’re really in a pinch, then it’s possible to fashion cotton buds to act as spray can nozzles. Both ends are removed from the cotton bud and can then be inserted in. Reports vary but the cotton bud is sometimes too large a diameter to fit properly.
Do you need to shake WD-40?
WD-40 should be shaken well before use. The contents can settle but a vigorous shake should fix it.
While shaking the can is recommended, care should be taken not to drop or aggressively shake the can, as it is volatile and under pressure.
Why Is My WD-40 Not Spraying?
One of the most common causes of aerosol issues is the nozzle becoming blocked from the substance’s hardening after use. WD-40 can dry and form a blockage.
Remove the nozzle and soak to remove internal blockages. Pour some paint thinner into a spare container and proceed to soak the nozzle. The nozzle may disintegrate if soaked too long, so keep it to an hour at most.
If the nozzle is still blocked, try and use a tool to clear the tubes. Safety pins and other sharp, thin objects work wonders. Pair it with good magnification and you can expertly chip away the obstructions.
If your WD-40 is not coming out when you spray, it could have run out of propellant.
- WD-40 states that it is common that some of the products may be left inside the can but not able to be sprayed. The best way to conserve propellant is to ensure the nozzle is pressed down with medium force to allow the WD-40 substance to come out.
A light press may just serve to let propellant escape.
To ensure you get all WD-40 out of the can as possible, you can try to twist the nozzle a quarter turn and then try spraying again. This can help clear blockages and realigns the internal dip tube in the can.
You can repeat this as necessary until the spray returns.
WD-40 is also best used with the can in an upright position whenever possible. Using the can from a sideways position is also not recommended.